- 6.75 hours
Learn from YouTube’s #1 Photoshop instructor Aaron Nace to enhance any image with Frequency Separation in Photoshop. Download RAW Images by beauty photographer Iulia David. Learn professional skin retouching and download the included Photoshop Action to make frequency separation easier than ever.
25 Video Tutorials | 7 Sample RAW Images | Frequency Separation & Sharpen Actions
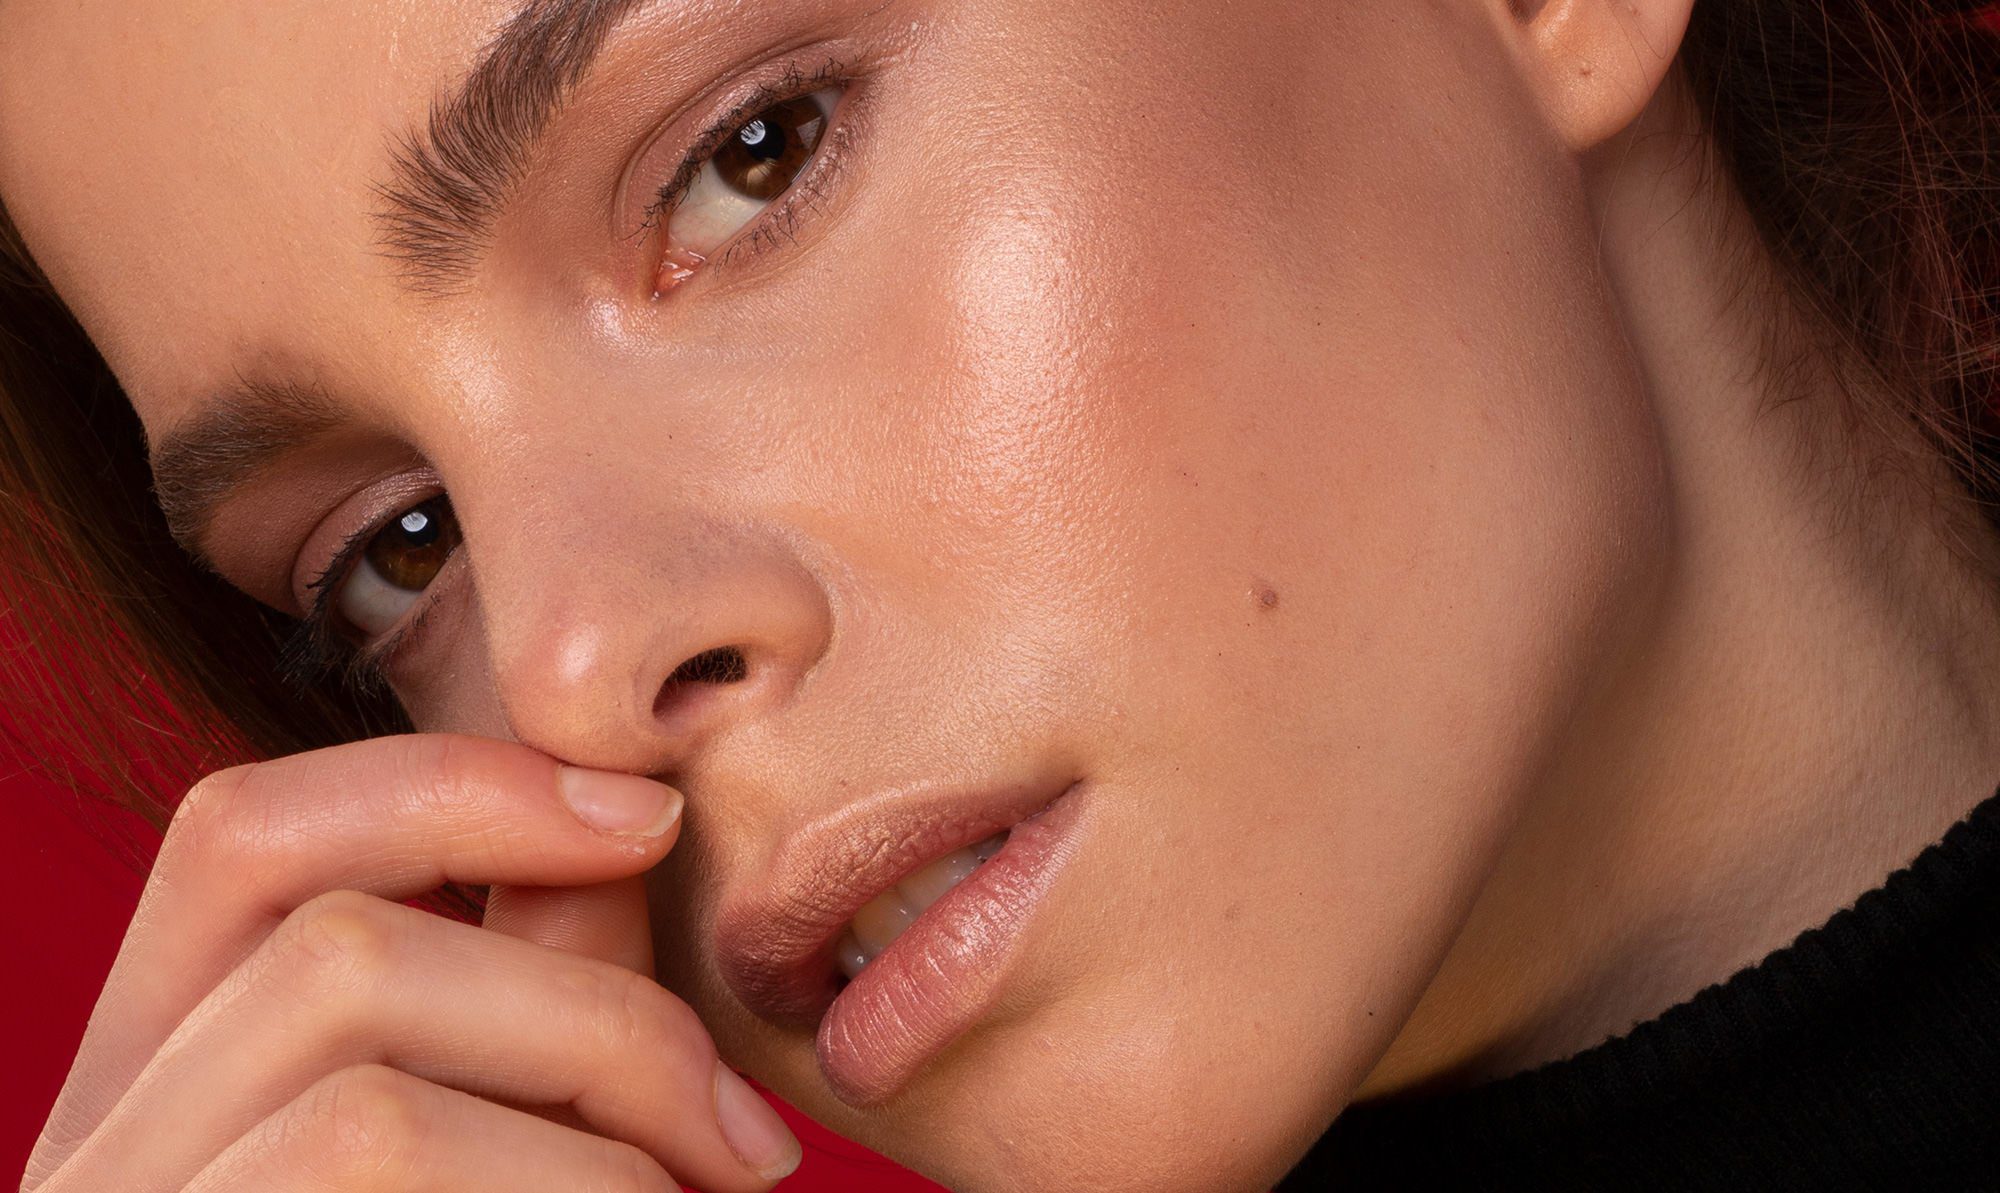
Enhance Natural Texture & Detail
Remove small distractions while highlighting the natural details that make your subject unique.
Beautiful Color, Perfect Detail
What is Frequency Separation?
Retouching has come a long way in the digital age. Frequency separation is a modern process that gives you complete control over the delicate textures and color in your images. Using the power of Photoshop, we can separate the fine details from the color information and then edit them independently.
Step-by-step Guide
Not only do we take you through the process of frequency separation step-by-step, you can follow along as we go through several examples of complete portrait retouching using 16-bit RAW images.
Frequency Separation Action
Your time is valuable. The faster you can finish an edit, the faster you can get on to your next project or photoshoot. Our included Photoshop action will automatically separate the high and low frequencies in any image, saving you time and getting you right into retouching.
High Frequency vs. Low Frequency
High frequencies are the smaller details in your images. Think skin texture, hair, or the stitching in fabric. Low frequencies include all of the color information in a photo like the transitions from highlight to shadow. Frequency separation is the process of dividing these two elements into separate layers which can each be adjusted without affecting the other.
Remove Blemishes
We all have them; small wrinkles, pimples, stray hairs–the tiny blemishes that easily show up on today’s high resolution cameras. Learn the proper methods for removing and reducing little distractions while keeping all the important details that make a person unique.
Smooth Skin in Photoshop
Dark shadows, uneven highlights, and skin redness will never be a problem again. Learn how to analyze and edit low frequency layers to smooth out color and areas of light and dark, creating perfect skin tone to highlight your subject’s natural beauty.
Tools & Techniques
Using a combination of layers, brushes, blurs, and our powerful Photoshop Action, by the end of this tutorial, you’ll be fully equipped with every tool and technique you’ll need to master frequency separation. We start with the basics and then show you in-depth application using high-end, professional images from photographer Iulia David.
Professional Skin Retouching
We don’t just show you the power of Frequency Separation. We take you through a complete professional retouching workflow, including steps like dodging and burning, color correction, and sharpening.
Manual Frequency Separation
Learn how to separate the high and low frequencies of any image from scratch to soften skin, remove wrinkles, and professionally retouch beauty portraits. Once you’ve mastered all of the steps for Frequency Separation, load up our custom action to save valuable time with impressive results.
Learn Professional Retouching
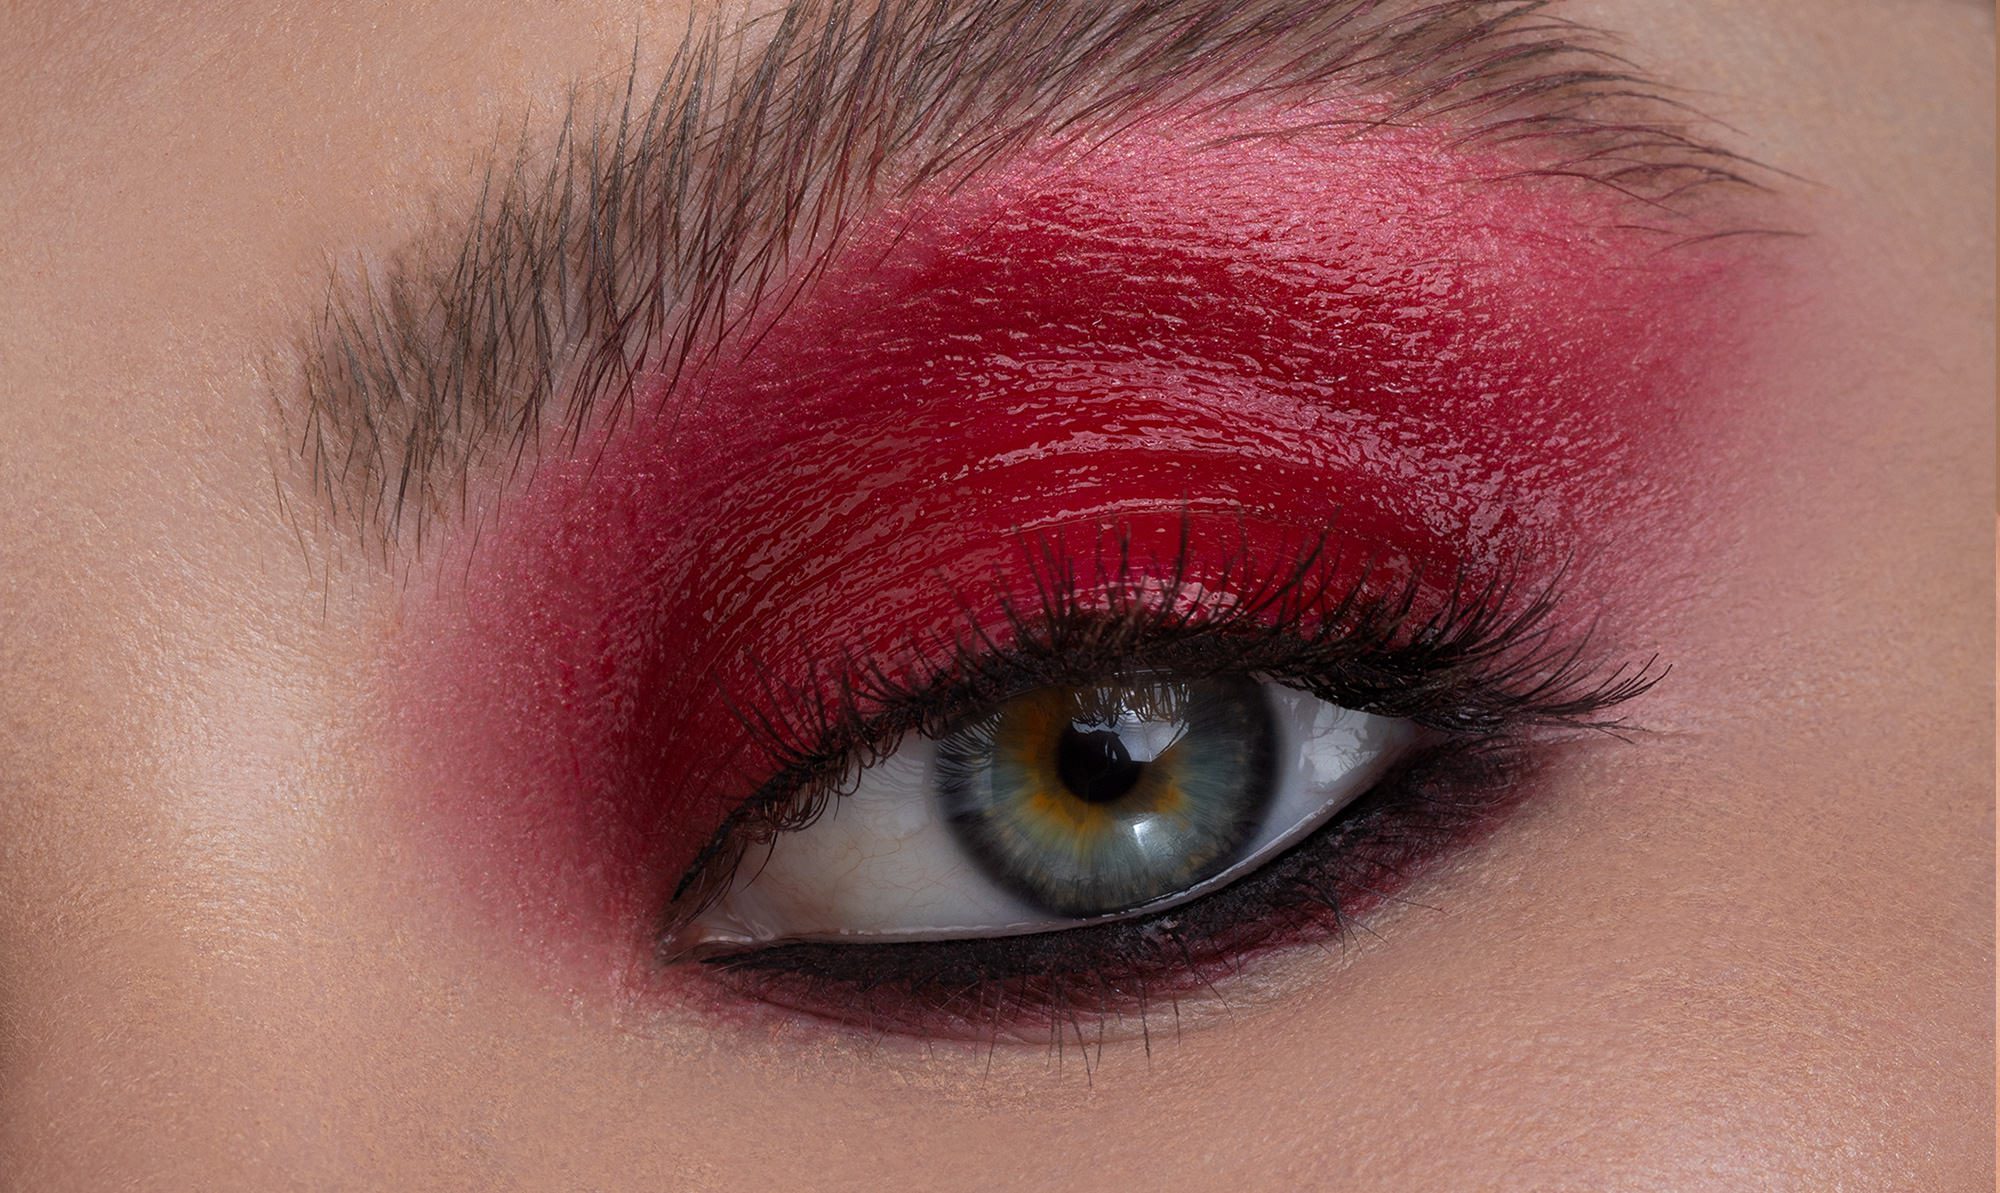

Unbelievable Results
From the smallest details like pores and hairs, to the large details like colors and tone, learn how to retouch every part of an image.
Small Scale Retouching
Follow along as we dive in to the details of an image, focusing on the high frequencies and retouching tiny blemishes and distractions. The small scale elements in a photo can make a huge difference to an image overall, at any scale, and are essential for creating larger prints.
Large Scale Details
Seeing large scale details means you can identify how and where light falls on a surface and how it affects the overall color and tone. We zoom way out, demonstrating how you can smooth out shapes and color, creating flawless transitions between light, shadow, and color while preserving all of the original texture.
RAW & JPEG
Whether you’re working with RAW or JPEGs, you can utilize the power of frequency separation to improve your photos. We show you proper workflow with both file-types using our custom frequency separation action.
The Brush Tool
Like most techniques in Photoshop, the Brush Tool will do most of the heavy lifting. Learn to adjust color, fix exposure, and take care of blemishes with some professional techniques and a few brushstrokes.
Blur Technique
Blurs may seem like one of the last tools you would turn to when doing detailed photo retouching, but they are a key tool in frequency separation. Learn how to use Gaussian blurs in Photoshop to isolate the color information of an image so you can smooth out skin and easily adjust highlights and shadows.
The Clone Stamp Tool
When retouching the fine details and textures in a photo, the Clone Stamp Tool should be your go-to. Learn how to use it to make changes to only the high frequency layer, sampling areas of texture you want and painting over textures you want to remove.
Instructor & Featured Artist
Aaron Nace
PHLEARN Founder – Class Instructor
Aaron Nace is a photographer, Photoshop artist and founder of PHLEARN. He is the #1 Photoshop instructor in the world with millions of YouTube subscribers.
Iulia David
Beauty Photographer & Retoucher – Featured Artist
I am a London based photographer specializing in editorial, commercial and beauty portrait photography. Born in a family of artists I have always been surrounded by art and curious in knowing the latest trends. My style is simple and clean with an edge. I think it is all about a collaborative synergy, bringing the most out of my team to create beautiful, compelling photographs.
Size: 4.41G

Thanks a lot…..waiting for this for a long time.
Man thanks for the video but why do u have to watermark the videos … Please avoid it ….
Thank you very much for uploading this course. May you upload “Advanced Lighting & Coloring in Photoshop” and “How to Master Dodging & Burning in Photoshop” as well?
Hi Thanks for this would you consider uploading phlearn – How to Retouch & Composite Product Photography
Thanks